
Head Unit Replacement for CarPlay and Android Auto
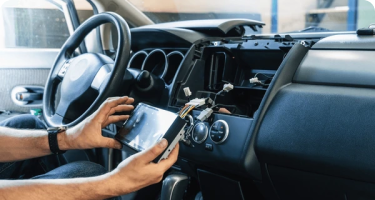
Adding Apple CarPlay or Android Auto to a vehicle that does not support it from the factory requires replacing the factory head unit with an aftermarket unit that runs these connectivity standards natively.
The new head unit displays the driver’s smartphone interface on the vehicle’s screen for navigation, music, calls, and messaging, controlled through the screen or steering wheel controls.
Professional installation ensures the new unit integrates correctly with the vehicle’s factory wiring, steering wheel controls, backup camera, and parking sensors.